Overview
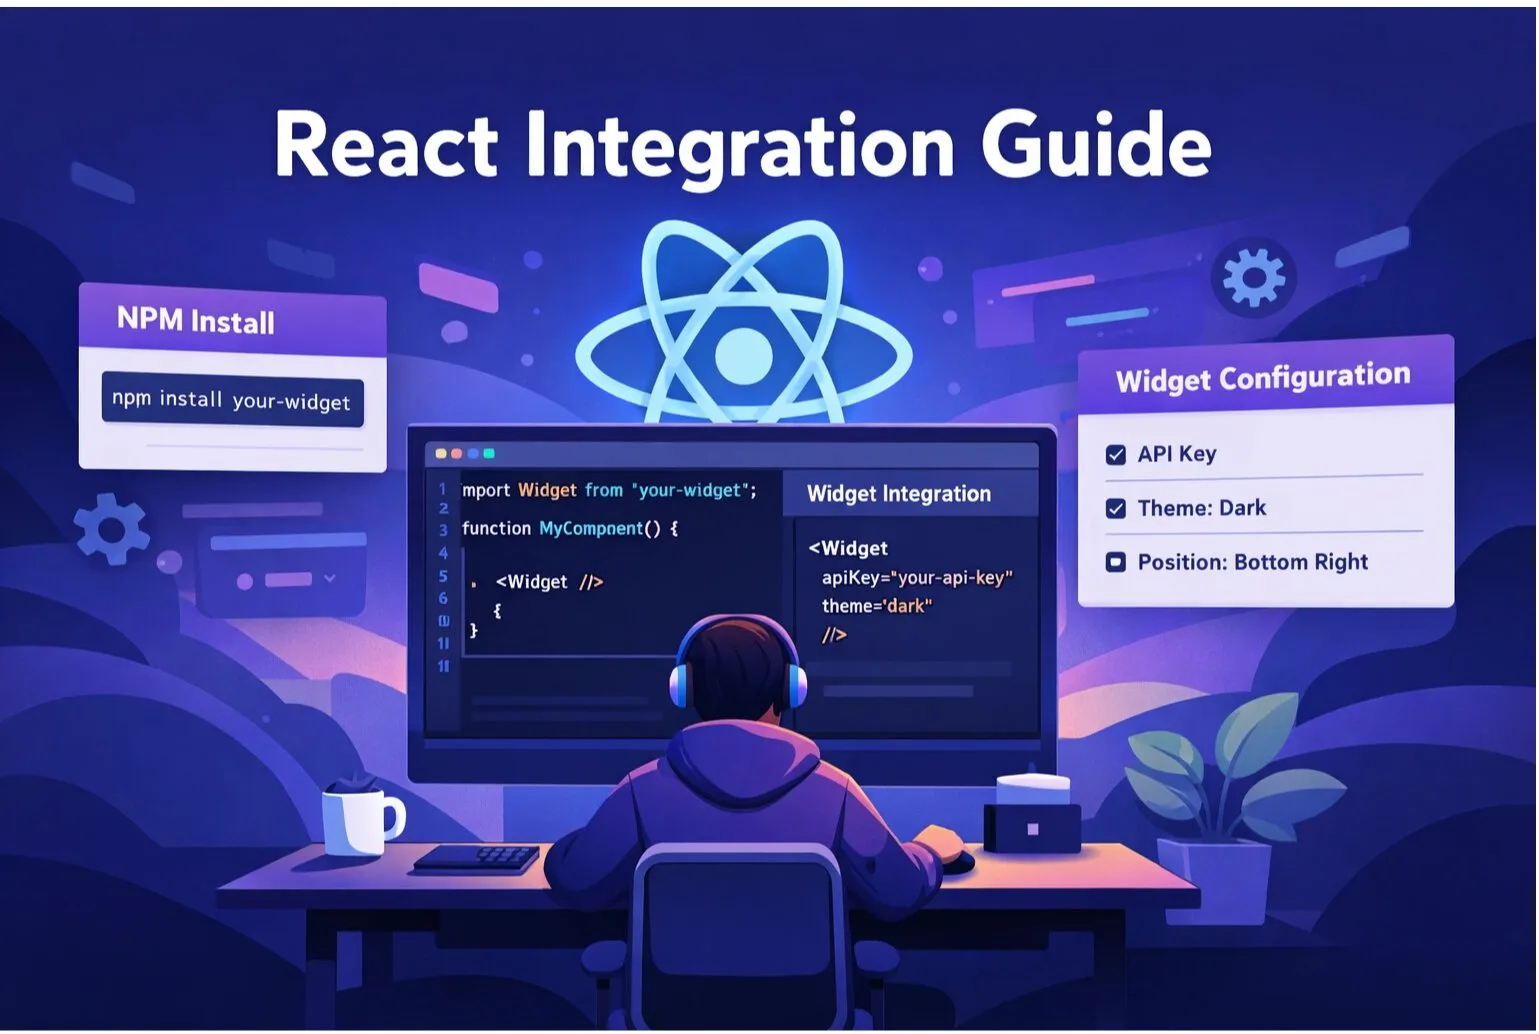
Integrate SnagRelay into your Next.js application to capture bug reports with full context. The widget configuration is managed in your dashboard, so the code integration is minimal. This guide covers both the App Router (Next.js 13+) and the legacy Pages Router.
Prerequisites
- A SnagRelay account (sign up free)
- Your SnagRelay API key
- A Next.js application (Next.js 13+ recommended)
App Router Integration (Recommended)
For Next.js 13+ with the App Router, add the widget in your root layout:
// app/layout.js
import Script from 'next/script';

export default function RootLayout({ children }) {
  return (
    <html>
      <body>
        {children}
        <Script id="snagrelay-init" strategy="afterInteractive">
          {`window.onSnagRelayLoad = function(api) { api.init(); };`}
        </Script>
        <Script
          src={`https://app.snagrelay.com/widget/load/${process.env.NEXT_PUBLIC_SNAGRELAY_KEY}?onload=onSnagRelayLoad`}
          strategy="afterInteractive"
        />
      </body>
    </html>
  );
}
Add your API key to .env.local:
NEXT_PUBLIC_SNAGRELAY_KEY=your_api_key_herePages Router Integration
For the legacy Pages Router, add the widget in _app.js:
// pages/_app.js
import { useEffect } from 'react';

function MyApp({ Component, pageProps }) {
  useEffect(() => {
    window.onSnagRelayLoad = function (api) {
      api.init();
    };

    const script = document.createElement('script');
    script.defer = true;
    script.src = `https://app.snagrelay.com/widget/load/${process.env.NEXT_PUBLIC_SNAGRELAY_KEY}?onload=onSnagRelayLoad`;
    document.head.appendChild(script);
  }, []);

  return <Component {...pageProps} />;
}

export default MyApp;
TypeScript Support
If you're using TypeScript, add the type declaration:
// types/snagrelay.d.ts
interface Window {
  onSnagRelayLoad: (api: { init: () => void }) => void;
}
Environment-Specific Loading
To only load the widget in staging or production (not local development):
// app/layout.js
import Script from 'next/script';

export default function RootLayout({ children }) {
  const isProd = process.env.NODE_ENV === 'production';

  return (
    <html>
      <body>
        {children}
        {isProd && (
          <>
            <Script id="snagrelay-init" strategy="afterInteractive">
              {`window.onSnagRelayLoad = function(api) { api.init(); };`}
            </Script>
            <Script
              src={`https://app.snagrelay.com/widget/load/${process.env.NEXT_PUBLIC_SNAGRELAY_KEY}?onload=onSnagRelayLoad`}
              strategy="afterInteractive"
            />
          </>
        )}
      </body>
    </html>
  );
}
That's It!
The widget configuration (position, colors, button text, session replay settings, etc.) is managed in your SnagRelay dashboard. Any changes you make there will automatically apply to your widget.
Best Practices
- Use
afterInteractivestrategy — loads after the page is interactive, doesn't block rendering - Store key in environment variables — use
NEXT_PUBLIC_SNAGRELAY_KEYso it's available client-side - Initialize once in root layout — don't add the widget in individual pages
Next Steps
- Customize the widget in your dashboard
- Set up integrations with your issue tracker
- Configure team members and permissions